

How to Propagate Plants in Water: Your Complete Guide
Root Witch wisdom for plant propagation success
Congratulations on becoming a root witch!
You're about to start making plant magic - learning how to propagate plants and turn one beloved plant into many. If you've never tried water propagation before, don't worry - we'll walk you through every plant propagation technique step by step. Trust the process (and the soil) - propagating plants in water is easier than you think!
Bought your propagation station at our popups? Welcome to our rooted community! Tag us @dirtwitchstudio
Quick Start: How to Root Cuttings in 30 Seconds
Just want to make plant magic fast? Here's water propagation simplified:
Cut a healthy stem below a node (the bumpy part)
Remove lower leaves, keep 2-4 on top
Place cutting in water, covering the nodes
Put in bright indirect light (where you'd read comfortably)
Change water weekly
Plant when roots are 1-2 inches long
Want complete propagation tips and techniques? Keep reading!

Understanding Your Cutting: Plant Anatomy 101
Know what you're looking for when learning how to propagate plants
Before you make that first cut, let's demystify plant anatomy. Understanding these parts is the foundation of successful water propagation!
📸 Photo: Detailed plant stem showing all parts labeled with arrows
The Essential Parts for Propagation Success:
Nodes
What they look like: Small bumps, joints, or ridges on the stem
Why they matter: This is where ALL the root magic happens!
Root witch wisdom: No node = no roots. It's that simple!
Where to find them: Look where leaves attach to the stem, or for little brown rings around the stem
Internodes
What they are: The smooth stem sections between nodes
Why they matter: These WON'T grow roots (save yourself the heartbreak!)
Propagation tip: You need at least one node below the water line
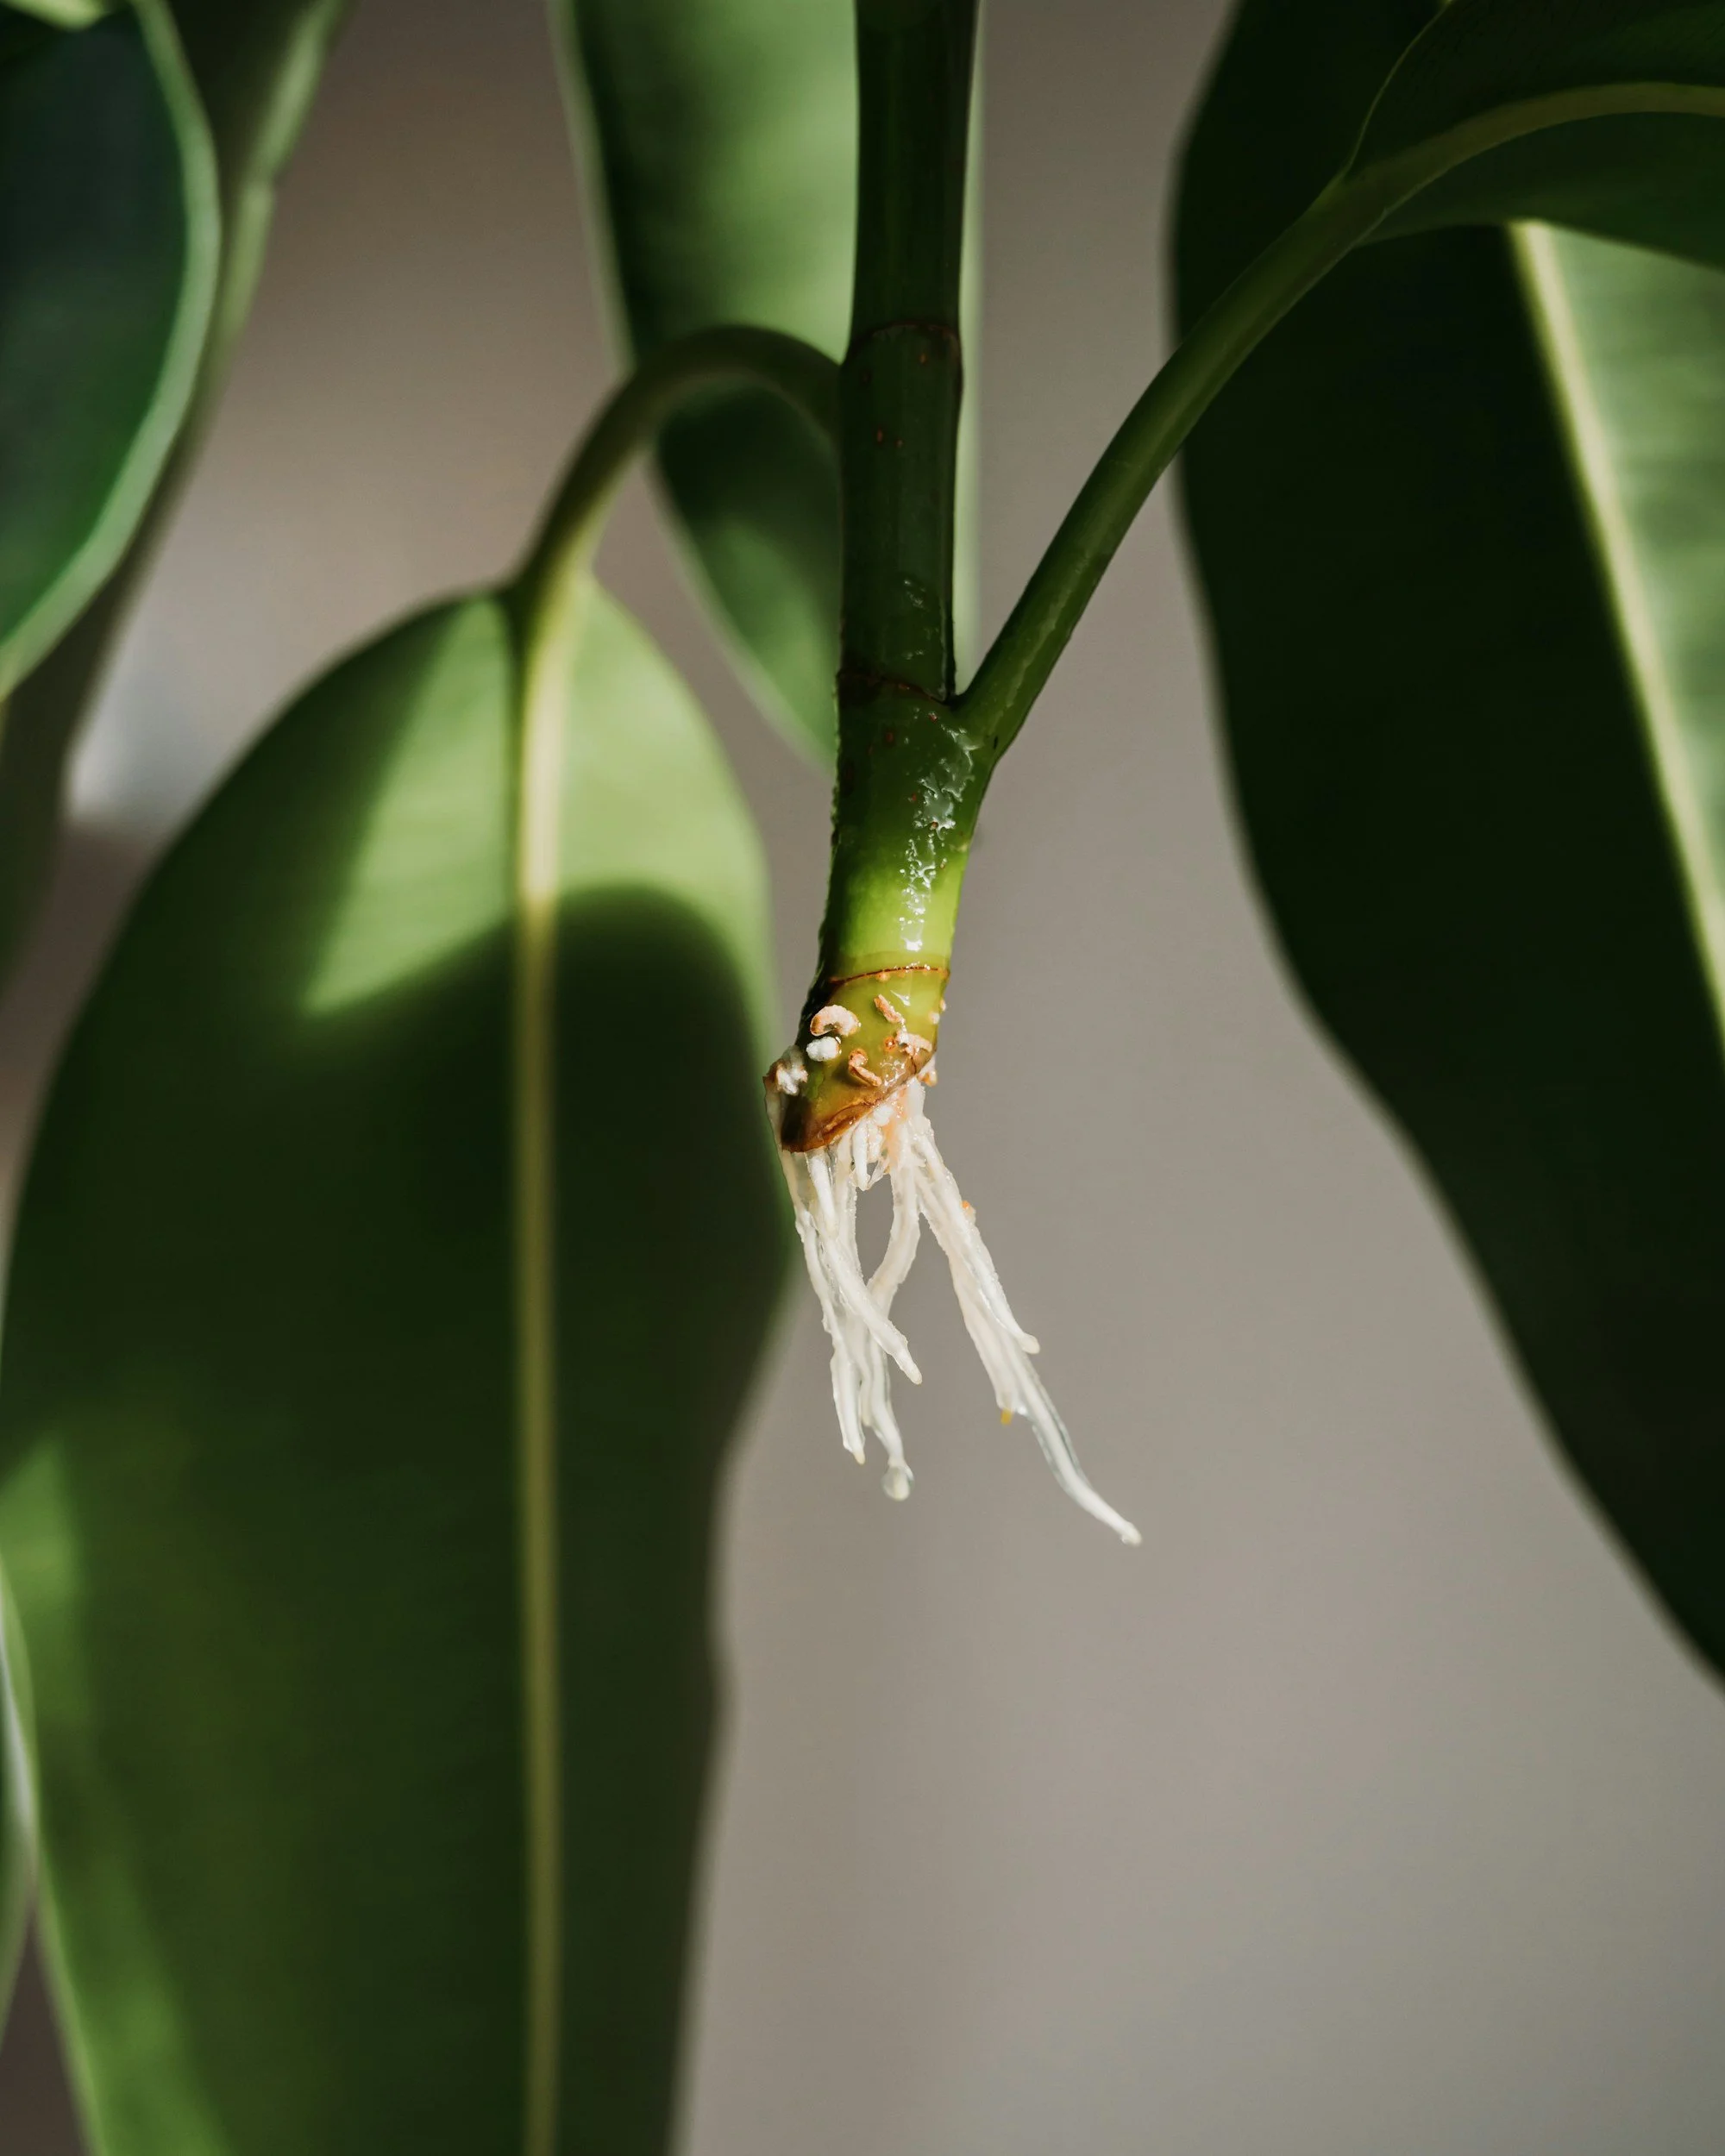
Aerial Roots
What they look like: Brown or white nubs sticking out from the stem
Why they're amazing: These are roots that already started growing!
Plants that have them: Monstera, pothos, philodendron
Root witch secret: Cuttings with aerial roots root 2x faster
Growth Points/Eyes
What they look like: Tiny bumps where new growth emerges
Why they matter: These become new leaves after rooting
Propagation bonus: More growth points = bushier plant
Leaves & Petioles
Leaves: The green parts that photosynthesize (duh!)
Petioles: The "stem" that connects leaf to main stem
Important: Petioles alone won't root (except for specific plants like African violets)
📸 Photo: Side-by-side comparison of node vs internode, aerial roots vs regular nodes
Quick Visual Guide to Nodes on Popular Plants:
Pothos Nodes
Look for: Slightly raised bump on the vine
Often has: Brown aerial root nub
Cut: 1/4 inch below the bump
Monstera Nodes
Look for: Thick junction where leaf meets stem
Bonus: Usually has visible aerial roots
Cut: Include the whole node section
Philodendron Nodes
Look for: Similar to pothos but more pronounced
May have: Multiple nodes close together
Cut: Below at least one clear node
Snake Plant Nodes
Look for: The point where leaf emerges from soil
Special note: Can also propagate from leaf sections
Cut: Include some of the white rhizome if possible
Rubber Tree Nodes
Look for: Slight swelling where leaf was attached
Will see: Leaf scar after removing lower leaves
Cut: Just below the leaf scar
Can I Propagate This? - Your Root Witch Decision Guide
📸 Photo: Visual flowchart showing propagation decision tree
START HERE: "I want to propagate this!" ↓ "Can you see or feel nodes on the stem?" ↓ YES → "You've found the magic spot!"
✅ Proceed with confidence
✅ Follow our step-by-step guide
✅ Success rate: HIGH! ↓ NO → "Check again - they can be subtle!" ↓ Still NO → "Is it just a single leaf?"
⚠️ Most plants need nodes to root
✅ EXCEPTIONS: Snake plants, ZZ plants, some succulents
❌ Won't work: Single leaves of monstera, pothos, philodendron
Visual Quick Check: ✅ CAN Propagate:
Stem with visible nodes
Aerial roots present
Multiple leaves on stem
Visible growth points
❌ CAN'T Propagate:
Just a leaf (except special cases)
Only petiole, no node
Flower stems only
Damaged/mushy sections
🌟 Still Not Sure? That's Okay, Root Witch!
The beautiful truth about plant propagation that nobody tells you...
Here's the real magic: Even experienced plant parents sometimes guess! Not every cutting will root, and that's totally normal. The only way to become a propagation wizard is to try, fail, learn, and try again.
When in Doubt, Water It Out!
Found a random leaf on the floor at the plant store? Stick it in water! Accidentally broke a stem? Give it a shot! Not sure if that's a node? Try anyway!
The worst thing that happens? It doesn't root. But you've learned something. The best thing? FREE PLANT! Plus you've just discovered something new.
Trust the Process (and Your Instincts)
Week 1: "Is this working?" (Probably too early to tell!)
Week 2: "Still nothing..." (Keep waiting, root witch!)
Week 3: "Wait, is that a bump?!" (The magic begins!)
Week 4: "I MADE A PLANT!" (You're officially magical!)
Permission to Experiment
💚 You have permission to:
Try propagating that grocery store basil
Attempt that "impossible" plant everyone says won't root
Put 10 different cuttings in water and see what happens
Fail spectacularly and try again
Google frantically at 2am "why won't my cutting root"
Celebrate every tiny root like you've won the lottery
Remember: Every plant expert started exactly where you are. They just kept trying. Some of the best propagation discoveries happened by accident - someone tried something "wrong" and it worked!
Your journey: Curious beginner → Confident experimenter → Root witch master
Trust the process. Trust the magic. Trust yourself.
Pro Tips for Node Identification:
🔍 Can't see nodes clearly?
Run your finger along the stem - nodes often feel like tiny bumps
Look for old leaf scars - that's where nodes are
Check where branches diverge - always a node there!
⚡ Speed up your propagation:
Choose cuttings with aerial roots when possible
Select sections with 2-3 nodes minimum
Look for fresh growth - younger stems root faster
❌ Common node mistakes to avoid:
Cutting in the middle of an internode (no roots will grow!)
Confusing petioles with stems (they look similar but won't root)
Giving up on plants with subtle nodes (they're there, keep looking!)
Remember: Once you spot your first node, you'll never unsee them. It's like plant magic glasses - suddenly you'll see nodes everywhere!
How to Propagate Plants: Step-by-Step Instructions {#magic-method}
Learning how to propagate plants in water starts with understanding these simple propagation techniques.

Step 1: Choose Your Cutting for Water Propagation
The secret to successful plant propagation starts with selecting the right cutting!
Look for healthy, pest-free growth - avoid any yellowing, brown spots, or tiny bugs when propagating plants
Find the nodes - these are KEY for rooting plants in water! Look for little bumps, joints, or spots where leaves grow
Cut 4-6 inches below a node - the perfect length for water propagation success
Morning is best for taking cuttings - plants are fully hydrated after a night of rest
Root witch confidence boost: Even beginners can master plant propagation! When learning how to root cuttings, most plants are forgiving.
Pro-propagation tip: Choose stems with 2-3 nodes for the highest water propagation success rate.

Step 2: Make the Perfect Cut for Propagation
Clean cuts = healthy roots when propagating plants in water!
Use clean, sharp scissors - essential propagation tools for rooting plants
Cut at a 45-degree angle - this propagation technique creates more surface area for roots
Cut just below a node - about ¼ inch below for optimal water propagation
One confident snip - clean cuts help plants root faster in water
Propagation tip for beginners: If you mess up the cut while learning how to propagate plants, just trim again!
Step 3: Prep Your Cutting for Water Propagation
Proper preparation is crucial when learning how to root cuttings in water.
📸 Photo: Before and after shots of plant cutting preparation
Remove lower leaves - prevents rot during water propagation
Keep 2-4 top leaves - these power your propagation success
Trim large leaves in half - reduces stress while rooting plants in water
Optional: Use rooting hormone - speeds up propagation but not necessary
Beginner's propagation guide tip: As long as you have 1-2 leaves, your cutting can still root in water!
Step 4: Water Propagation Setup
Create the perfect environment for rooting plants in water!
📸 Photo: Proper water levels for plant propagation
Here's how to propagate plants in water successfully:
Fill containers 2-3 inches deep - proper depth for water propagation
Use room temperature water - cold water slows down propagation
Best water for propagating plants:
Filtered or distilled water (best)
Tap water left out overnight (good)
Fresh tap water (okay for most)
Perfect light for water propagation:
3-6 feet from a sunny window
Bright indirect light
Perfect for New England plant propagation!
How do you know if light is right for propagating plants? If you can read comfortably without extra light, it's perfect!
Step 5: How Long Does Plant Propagation Take?
Understanding propagation timelines helps you succeed at rooting plants in water.
📸 Photo: Water propagation timeline showing weekly progress
Typical water propagation timeline:
Week 1: Cutting adjusts (drooping is normal when propagating plants!)
Week 1-2: Look for root bumps starting
Week 2-3: Actual roots appear in water
Week 3-4: Roots grow longer and branch
Weekly propagation care tips:
Change water every week - fresh water prevents bacteria
Don't move cuttings constantly - let water propagation work
Document your propagation journey!
How long to propagate plants in water? Most plants show roots within 2-4 weeks, but some take longer.
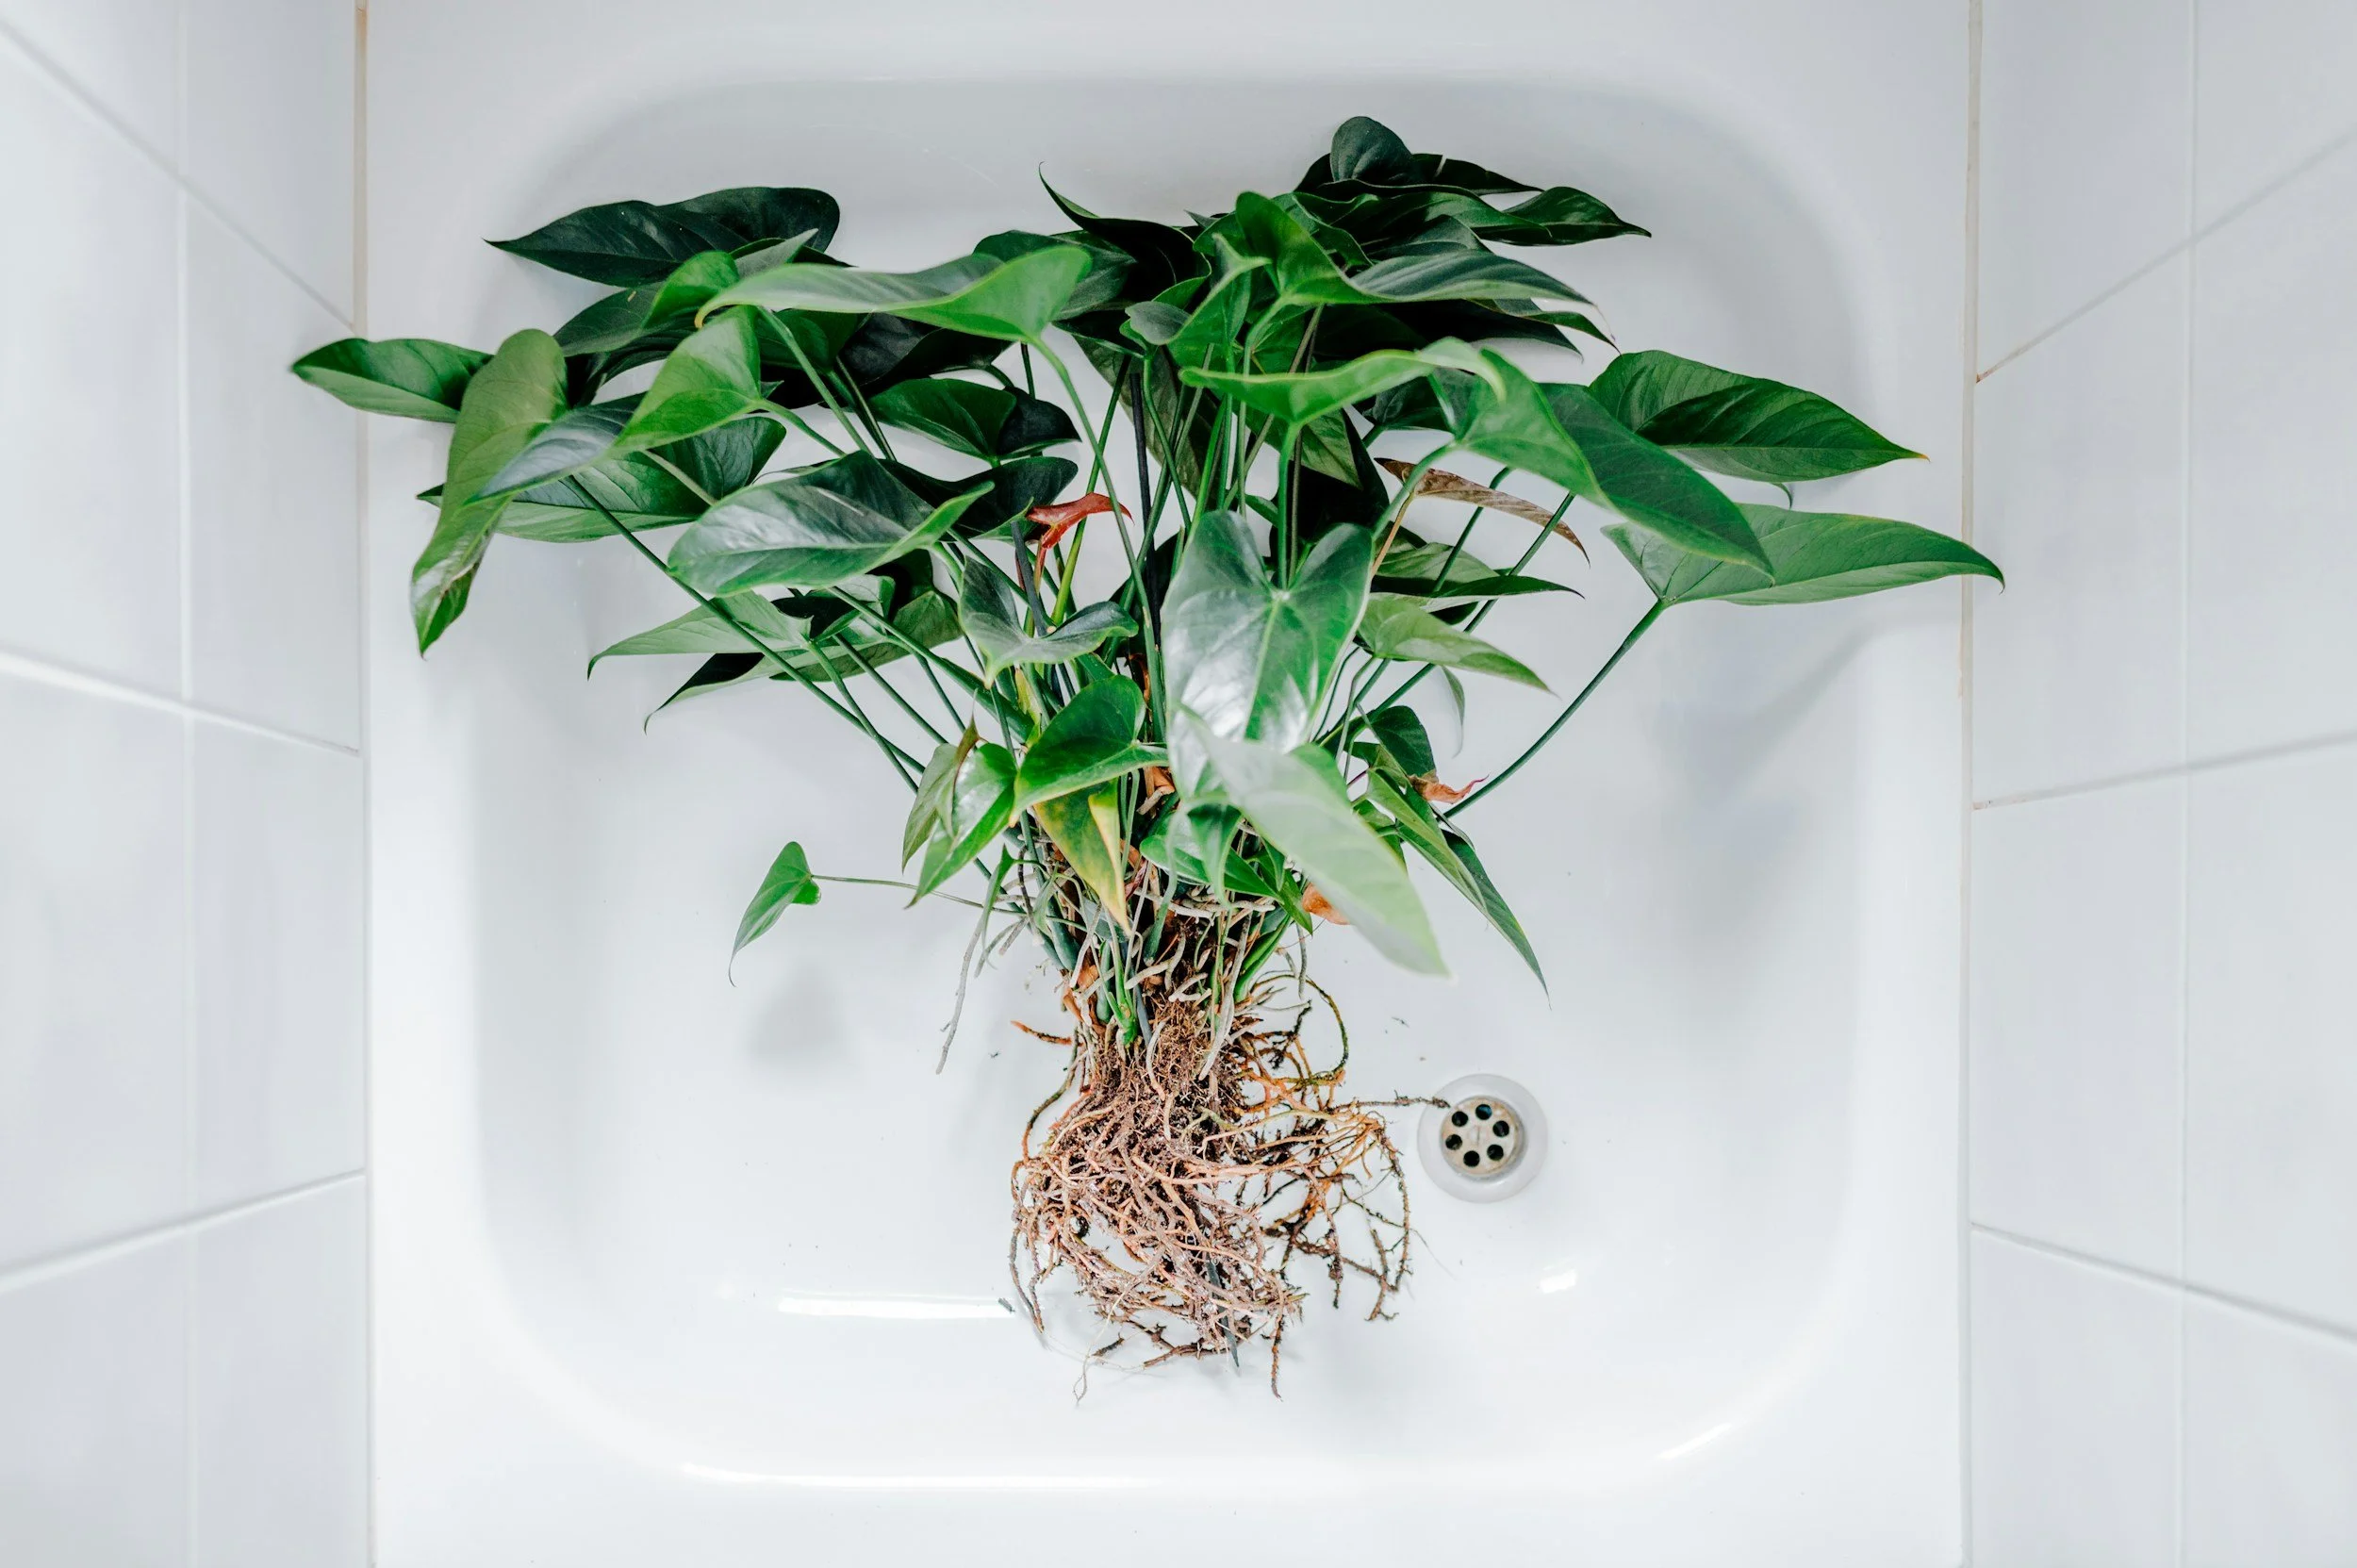
Step 6: Transplanting Water-Propagated Plants
Time to graduate from water propagation to soil!
📸 Photo: Roots ready for transplanting vs too short
When to transplant water-propagated plants:
Roots are 1-2 inches long
Multiple root systems visible
Roots look white and healthy
New growth appearing
How to transplant rooted cuttings:
Choose a small pot (3-4 inches)
Use well-draining potting soil
Make a hole for roots
Gently place propagated plant
Cover roots with soil
Water gently
Keep in same light conditions
What do you do?
Take a minute to write an introduction that is short, sweet, and to the point. If you sell something, use this space to describe it in detail and tell us why we should make a purchase. Tap into your creativity. You’ve got this.
-
It all begins with an idea. Maybe you want to launch a business. Maybe you want to turn a hobby into something more.
-
It all begins with an idea. Maybe you want to launch a business. Maybe you want to turn a hobby into something more.
-
It all begins with an idea. Maybe you want to launch a business. Maybe you want to turn a hobby into something more.

🆘 Plant Propagation Troubleshooting Guide {#troubleshooting}
Common water propagation problems and solutions
"My propagation water is getting cloudy"
This common propagation issue is easy to fix!
How to fix cloudy water when propagating plants:
Dump all water immediately
Clean propagation container thoroughly
Trim any soft or brown parts
Refill with fresh water
Change water every 3-4 days
"Why aren't my cuttings rooting in water?"
Some plants are slow to root when propagating in water.
Propagation tips for stubborn plants:
Check water temperature (too cold slows propagation)
Ensure nodes are underwater
Try rooting hormone
Be patient - some plants take 6-8 weeks!
Slow water propagation timeline: Rubber trees (6-8 weeks), Ficus (4-6 weeks)
"Leaves turning yellow during propagation"
Understanding why leaves yellow helps successful plant propagation.
Normal during water propagation: Bottom 1-2 leaves yellowing Propagation problem: Multiple leaves yellowing quickly
Solutions for yellowing during propagation:
Move to less direct light
Use filtered water
Be patient with the propagation process
"How to prevent mold when propagating plants"
Mold prevention during water propagation:
Ensure good air circulation
Don't overcrowd cuttings
Change water frequently
Use clean propagation containers
🌿 Plant-Specific Water Propagation Guide {#plant-tips}
Easy Plants to Propagate in Water
Perfect for learning how to propagate plants!
Pothos propagation - Roots in 1-2 weeks, easiest water propagation Tradescantia propagation - 5-10 days, fastest rooting plant Herb propagation - Mint and basil root quickly in water
Intermediate Water Propagation Plants
Once you've mastered basic propagation techniques:
How to propagate Monstera - 3-4 weeks, look for aerial roots Philodendron propagation - 2-3 weeks in water Snake plant leaf propagation - 4-6 weeks, requires patience Rubber tree propagation - 4-6 weeks, change water daily
Advanced Propagation Challenges
For experienced water propagation enthusiasts:
Fiddle leaf fig propagation - 6-8 weeks with rooting hormone ZZ plant propagation - 8-12 weeks, very slow in water Note: Some plants propagate better in soil than water!
🗓️ Best Time to Propagate Plants {#seasonal}
Seasonal propagation guide for New England gardeners
Spring Plant Propagation (March-May)
Best time to propagate plants: 90%+ success rate
Ideal for all propagation techniques
Natural growth season helps rooting
Summer Water Propagation (June-August)
Good propagation results: 75-80% success
Change water more frequently in heat
Avoid direct sun on propagation stations
Fall Propagation Tips (September-November)
Moderate success: 60-70% when propagating
Expect slower rooting in water
Best for easy-to-propagate plants
Winter Plant Propagation (December-February)
Challenging season: 40-50% success
Use warm locations for water propagation
Supplement with grow lights
🎓 Plant Propagation Techniques Beyond Water {#beyond-water}
When to Skip Water Propagation
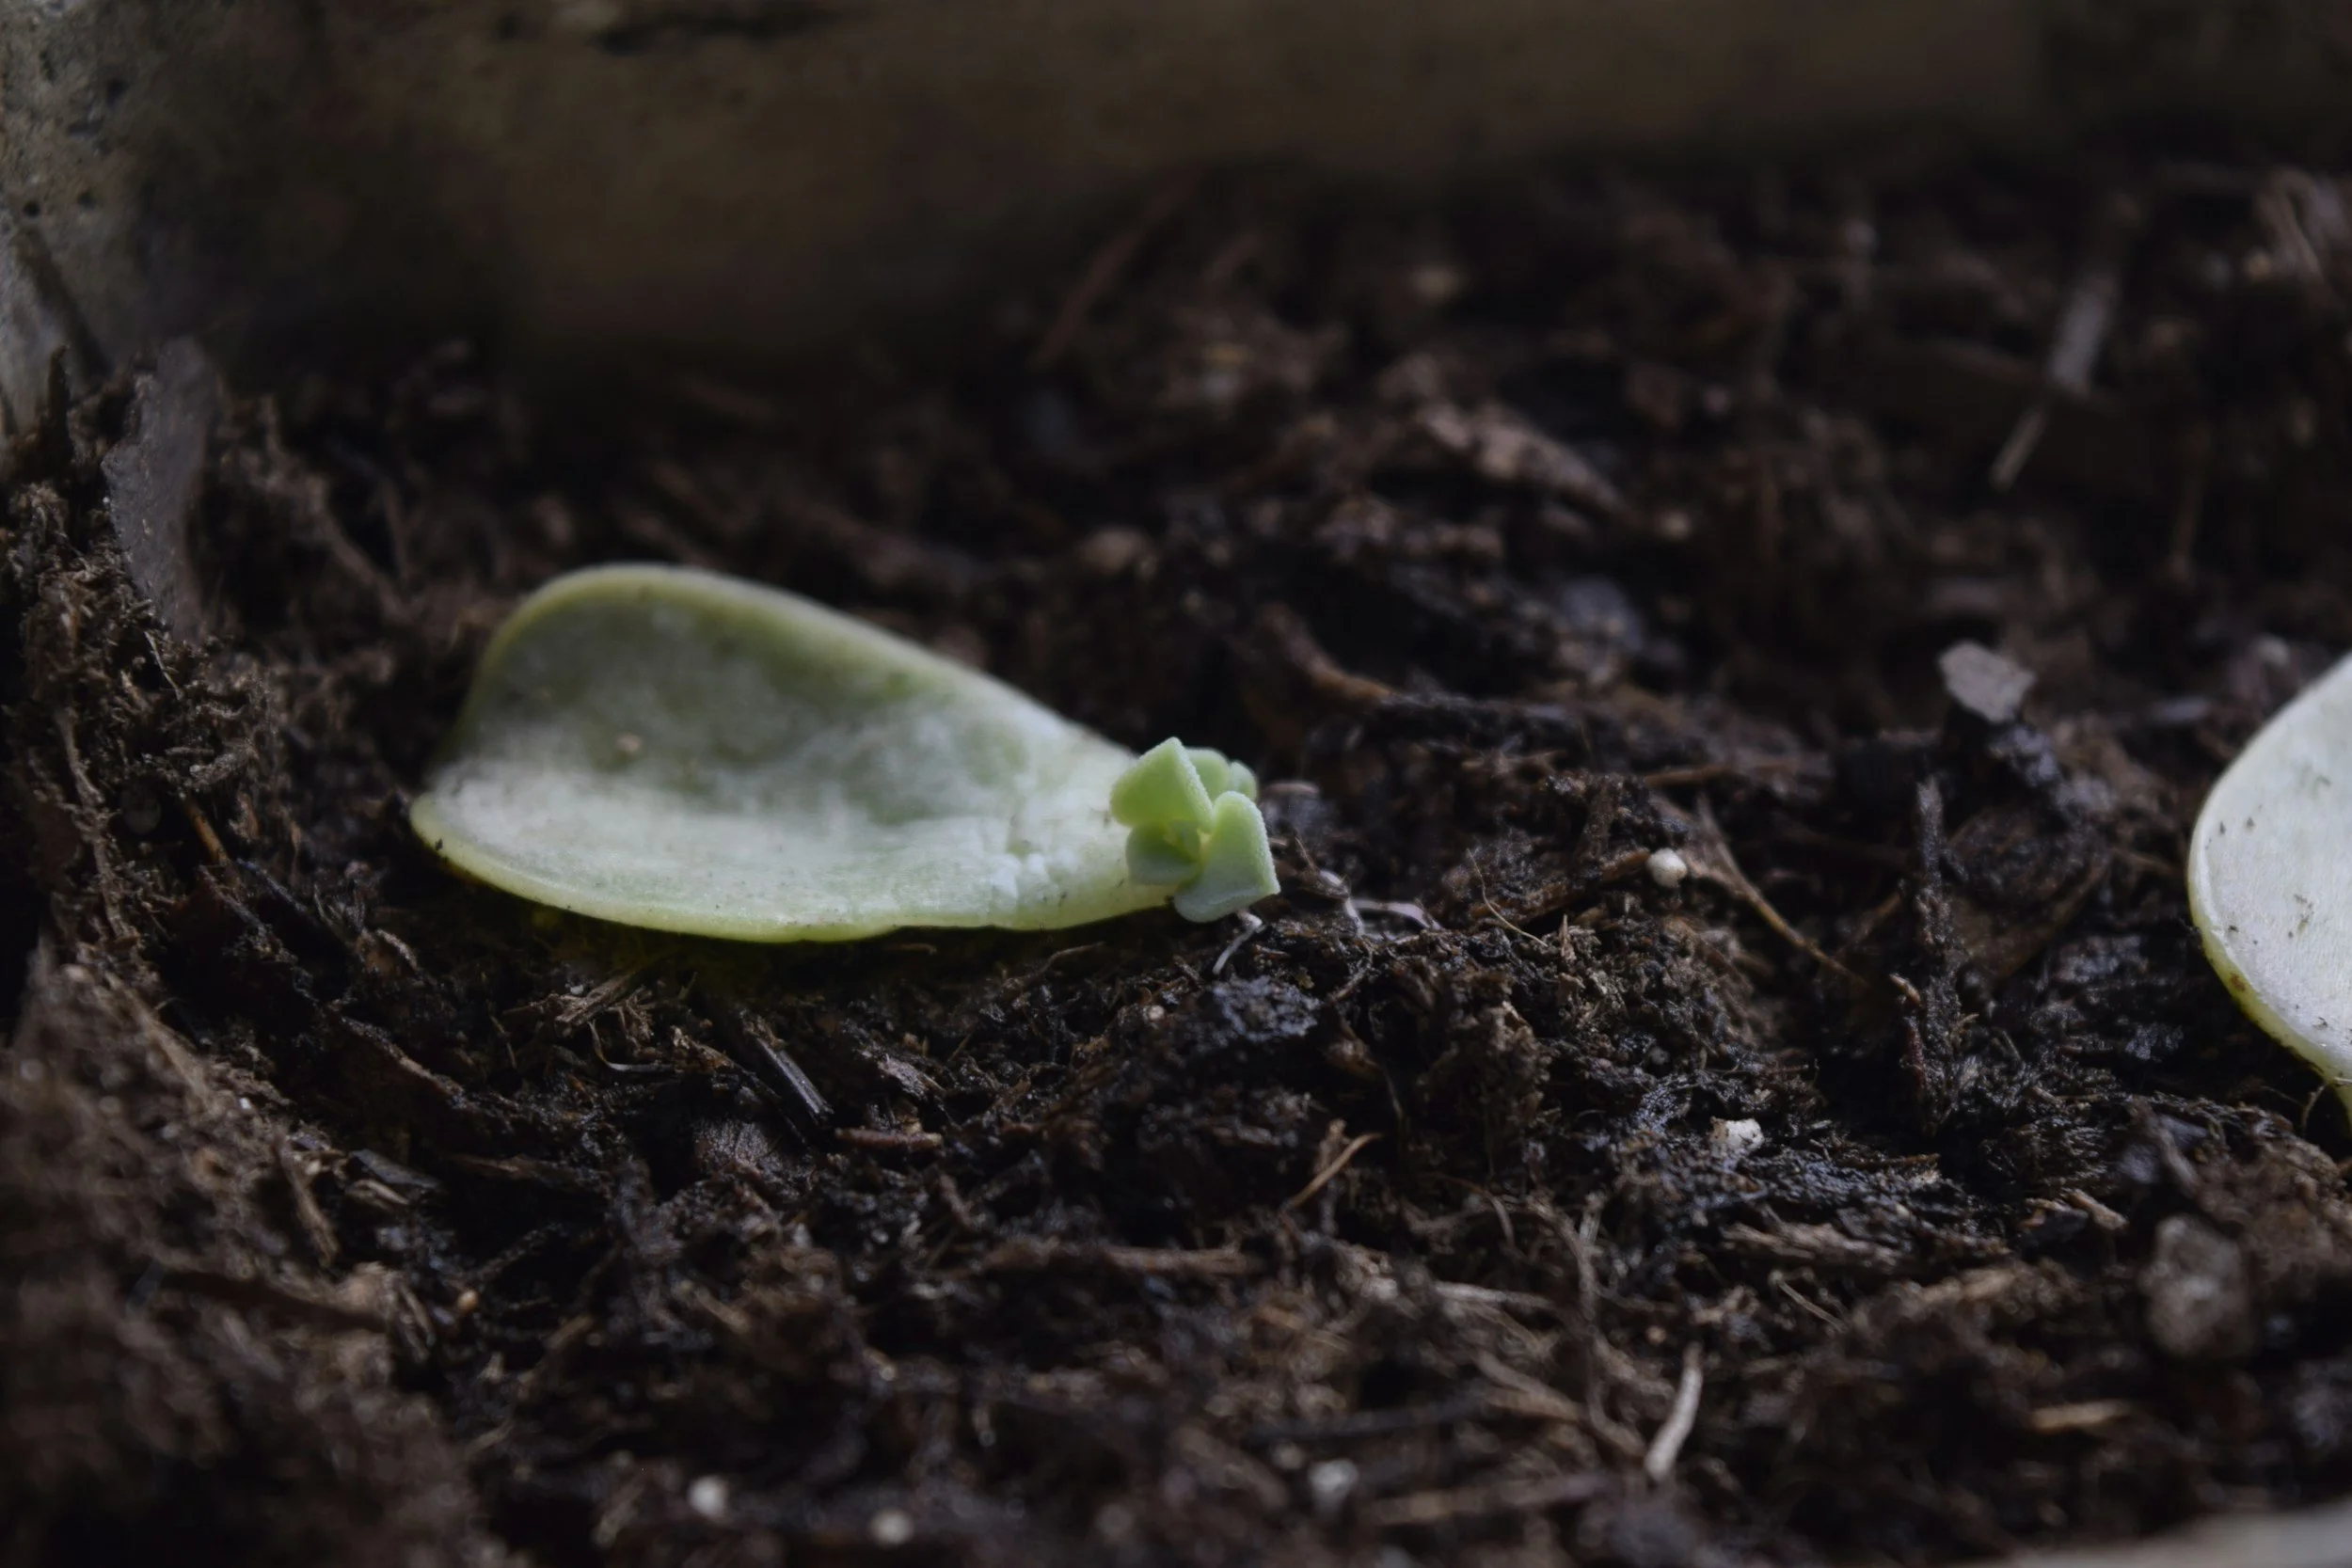
Some plants root better using other propagation methods:
Succulents (soil propagation preferred)
Very woody stems
Plants that rot easily in water
Is Rooting Hormone Necessary?
Skip for easy water propagation: Pothos, tradescantia Helpful for slow-rooting plants: Rubber trees, fiddle leaf fig Natural alternative: Cinnamon powder
Other Propagation Methods
Soil propagation
Perlite propagation
Sphagnum moss method
Air layering technique
📱 Join Our Massachusetts Plant Propagation Community {#community}
Need Propagation Help?
📧 Email your propagation questions: hello@dirt-witch.com 📸 Instagram: @dirtwitchstudio - Share your water propagation success with #rootwitch 🌱 Find our propagation stations at New England popups!
Continue Your Propagation Journey
Browse our Complete Plant Care Guides
Shop propagation supplies and stations
Join our rooted community events
Celebrate Your Propagation Success!
Remember: Every expert at plant propagation was once a beginner. You're not just learning how to propagate plants - you're growing magic, one cutting at a time.
Share your water propagation wins with #rootwitch! We love seeing your plant propagation journey.
Keep growing magic! ✨
May your roots run deep,
The Dirt Witch Team
Common Visitors & How to Handle Them
-
The humidity lovers: These microscopic visitors show up when the air gets too dry - they're telling you that your tropical beauty needs more spa-like conditions.
Signs: Tiny webs on leaves, stippled appearance, tiny moving dots
Natural remedy: Increase humidity immediately (win-win!), wipe leaves with a damp cloth, spray with neem oil, and shower the plant gently
-
The soft green crashers: These tiny green visitors love new growth and can multiply quickly on your precious variegated leaves.
Signs: Small green or white insects clustered on new growth, sticky honeydew on leaves
Gentle removal: Spray off with water, use insecticidal soap, or dab with alcohol-soaked cotton swab
-
The moisture lovers: These tiny flies are actually telling you something important about your watering rhythm - they appear when soil stays too wet.
Signs: Tiny flies buzzing around the soil surface (more annoying than harmful)
Rebalancing: Let the soil dry more between waterings, use yellow sticky traps, and layer the top of the soil with sand to break their cycle
FAQ & Plant Wisdom
-
Water your heartleaf philodendron when the top inch of soil feels dry to the touch, typically every 1-2 weeks in spring/summer and every 2 weeks or longer in fall/winter. These plants are very forgiving - when in doubt, wait an extra day! They'd rather be slightly thirsty than sitting in soggy soil.
-
Yellow leaves on heartleaf philodendron usually indicate watering issues - either too much or too little water. Check if the soil feels soggy (indicating overwatering) or bone dry (indicating underwatering). Sometimes it's just natural aging as the bottom leaves complete their journey.
Adjust your watering schedule, and the new growth should come in healthy and green.
-
Heartleaf philodendrons thrive in bright, indirect light - think of a spot 3-6 feet from a south-facing window or near an east/north window. They can tolerate lower light, but growth will slow down. Avoid direct sunlight, which can scorch the leaves and fade their beautiful emerald color.
-
Heartleaf philodendron propagation is incredibly easy! Cut 4-6-inch pieces with at least 2-3 nodes, remove the bottom leaves, and place in water. Change water weekly, and roots will appear in 2-4 weeks.
Once roots are 1-2 inches long, you can plant them in soil or keep them in water forever - they're happy either way!
-
Leggy heartleaf philodendron growth usually means insufficient light. Move your plant closer to a bright window or add a grow light. When they don't get enough light, they stretch toward any source they can find, creating long, sparse vines with smaller leaves.
Better lighting, combined with some pruning, will encourage bushier growth.
-
While heartleaf philodendron and pothos look similar, philodendrons have more heart-shaped leaves that are typically thinner and more delicate. Pothos leaves are usually thicker and more oval-shaped. Both are excellent beginner plants, but heartleaf philodendrons tend to be even more forgiving with watering mistakes.
-
No, heartleaf philodendron is toxic to cats, dogs, and humans if ingested. Keep this beautiful trailing plant in a location where pets and children can't easily access it.
Consider hanging planters or high shelves to enjoy those gorgeous cascading vines safely.
-
Brown tips on heartleaf philodendron usually indicate low humidity or over-fertilization. These tropical plants prefer humidity levels around 40-60%. Try misting regularly, using a pebble tray, or adding a humidifier nearby.
If you've been fertilizing regularly, skip the next feeding session.
-
Indoor heartleaf philodendrons can trail 6-10 feet long, making them perfect for hanging baskets, tall shelves, or climbing supports. Individual leaves typically reach 4 inches in diameter, although they can grow larger with optimal care and higher humidity levels.
-
Yes!
Heartleaf philodendron cuttings thrive in water indefinitely. Many plant parents prefer this method because you never have to worry about watering schedules. Just change the water weekly and enjoy your living, trailing water garden. The roots will continue to grow, and the plant will remain healthy.
-
Repot heartleaf philodendrons every 2-3 years in spring, or when roots start peeking out of the drainage holes. These plants actually don't mind being slightly pot-bound - it often encourages more trailing growth!
When you repot, choose a container that is only 1-2 inches larger than the current pot.
-
Aerial roots on heartleaf philodendron are completely normal and show your plant's wild, climbing nature! In their native habitat, these roots help them climb trees and absorb moisture from the air.
You can leave them alone, tuck them into soil, or trim them if they bother you - the plant will be happy either way.
-
To encourage bushier heartleaf philodendron growth, pinch or trim the growing tips of long vines. This tells the plant to focus energy on creating new branches rather than just getting longer.
Combine this with bright light and regular feeding during the growing season for the fullest, most lush plant.
-
Heartleaf philodendrons prefer a humidity level of 40-60%, but are quite adaptable to average household levels. Higher humidity encourages the growth of larger leaves and faster growth.
Boost humidity by using regular misting, pebble trays, grouping plants together, or placing them in naturally humid areas, such as bathrooms or kitchens.
Still need help?
Having trouble with your heartleaf philodendron? We are here to help!
Email us at hello@dirt-witch.com with photos of any issues
Send us a DM on Instagram @dirtwitchstudio with your questions
Remember: Heartleaf philodendrons are incredibly forgiving and want to thrive in your space. Trust your instincts, observe what your plant is telling you through its leaves, and don't overthink it. Sometimes the best plant care is simply paying attention and responding with love.
Happy growing!